
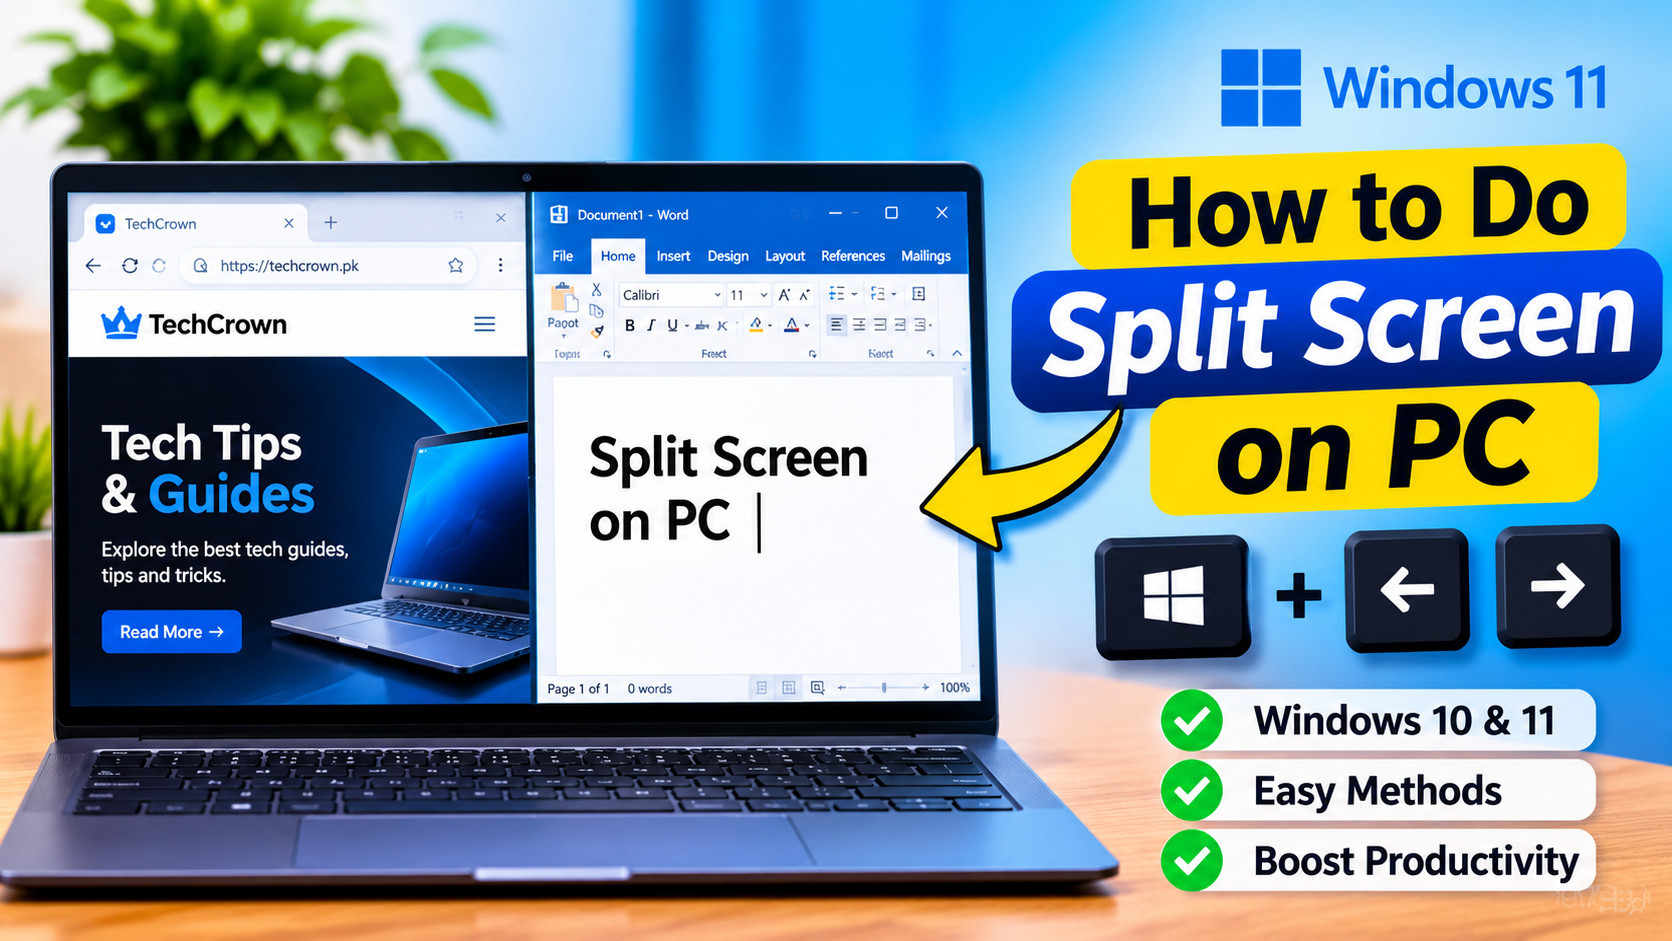
How to Do Split Screen on PC: Easy Guide
Windows Guides Snap Assist, split laptop screen, split screen on PC, Windows 10 multitasking, Windows 11 Snap Layouts, Windows keyboard shortcutsHow to Do Split Screen on PC in Windows 10 & 11
Learning how to do split screen on PC can make your daily computer tasks faster and easier. Whether you are working on documents, attending online meetings, browsing websites, or comparing information, split screen allows you to use multiple applications at the same time.
Windows 10 and Windows 11 include built-in multitasking features that let you divide your display into two, three, or four sections. You do not need to install additional software to use these features.
If you want to know how to do split screen on PC using keyboard shortcuts, Snap Assist, or Snap Layouts, this complete guide will walk you through every method step by step.
For more practical computer tutorials, visit TechCrown, where you can explore helpful Windows guides, technology tips, and software tutorials.
Quick Answer: How to Do Split Screen on PC
The easiest way to split your computer screen is to use the Windows keyboard shortcuts.
- Open the first application.
- Press Windows + Left Arrow to move it to the left side.
- Open another application.
- Press Windows + Right Arrow to move it to the right side.
Both applications will appear side by side. You can adjust their sizes by dragging the divider between them.
Windows 11 users can also press Windows + Z to open Snap Layouts and choose a preferred window arrangement.
5 Best Methods: How to Do Split Screen on PC
There are several ways to arrange multiple applications on your desktop. The following methods work on supported Windows 10 and Windows 11 systems.
1. Use Keyboard Shortcuts to Split Screen
Keyboard shortcuts are one of the fastest ways to organize your desktop. They allow you to arrange applications without manually dragging windows.
Follow these steps:
- Open the first application you want to use.
- Press Windows + Left Arrow.
- The application will move to the left side of your display.
- Open or select another application.
- Press Windows + Right Arrow.
- Both applications will now appear side by side.
This is one of the simplest ways to learn how to do split screen on PC, especially if you regularly work with multiple applications.
Useful Windows keyboard shortcuts:
| Keyboard Shortcut | Function |
|---|---|
| Windows + Left Arrow | Moves a window to the left |
| Windows + Right Arrow | Moves a window to the right |
| Windows + Up Arrow | Maximizes or moves a window upward |
| Windows + Down Arrow | Restores or moves a window downward |
| Windows + Z | Opens Snap Layouts in Windows 11 |
| Alt + Tab | Switches between open applications |
2. Use Snap Assist in Windows 10
Snap Assist is a built-in Windows feature that helps you arrange applications on your desktop.
It allows you to position one application on one side of your screen and select another application for the remaining space.
Here is how to use it:
- Open the application you want to arrange.
- Click and hold its title bar.
- Drag the window toward the left or right edge of your screen.
- Release the mouse when the snap outline appears.
- Windows will show thumbnails of your other open applications.
- Select another application to fill the remaining space.
You can also drag applications into the corners of your display to create a four-window arrangement on supported screens.
Snap Assist is particularly helpful when comparing documents, researching information, or working with multiple browser windows.
3. Use Snap Layouts in Windows 11
Windows 11 includes an improved multitasking feature called Snap Layouts. It provides predefined arrangements for organizing multiple applications.
If you want to know how to do split screen on PC with more than two applications, Snap Layouts is an excellent option.
Follow these steps:
- Open an application.
- Move your mouse pointer over the Maximize button.
- Wait for the Snap Layouts menu to appear.
- Select your preferred layout.
- Choose a position for the application.
- Select other open applications to fill the remaining sections.
You can also press Windows + Z to open the Snap Layouts menu directly.
Common layout options include:
- Two applications arranged side by side.
- Three applications arranged in columns.
- Four applications arranged in a grid.
- Custom arrangements with different window sizes.
The available layouts depend on your screen size, resolution, and Windows configuration.
For official instructions, visit Microsoft’s Snap Your Windows guide.
4. Split Screen Using Your Mouse
If you prefer using your mouse instead of keyboard shortcuts, Windows also allows you to arrange applications manually.
Follow these steps:
- Open the first application.
- Click and hold its title bar.
- Drag it toward the left edge of your screen.
- Release the mouse when the snap outline appears.
- Select another application for the opposite side.
- Adjust the window sizes if necessary.
You can repeat the process to organize additional applications into different screen sections.
This method is useful for people who prefer controlling their desktop layout manually.
5. Enable Snap Windows Through Settings
If your applications are not snapping into position, the Snap windows feature may be disabled.
You can enable it through Windows Settings.
- Press Windows + I.
- Select System.
- Open Multitasking.
- Find the Snap windows option.
- Turn it On.
- Expand the available options to customize window snapping behavior.
After enabling the feature, try using Windows + Left Arrow and Windows + Right Arrow again.
Microsoft also provides a detailed Windows multitasking guide.
How to Split Screen into 2, 3, or 4 Windows
Windows allows you to organize applications in different arrangements depending on your display and operating system.
Here is a comparison of common layouts:
| Screen Layout | Number of Windows | Best Use |
|---|---|---|
| Two-column layout | 2 | Writing and browsing |
| Three-column layout | 3 | Research and multitasking |
| Four-section layout | 4 | Comparing documents |
| Custom layout | 2 or more | Organizing your workspace |
How to Split Screen into Two Windows
Open your first application and press Windows + Left Arrow. Then open another application and press Windows + Right Arrow.
Your applications will appear side by side.
How to Split Screen into Three Windows
On Windows 11, press Windows + Z and choose a three-section Snap Layout if available.
Place your applications into the available sections.
How to Split Screen into Four Windows
Open Snap Layouts and choose a four-section arrangement when supported by your display.
You can place different applications in each corner of your screen.
Keep in mind that some layouts may not be available on smaller displays.
How to Do Split Screen on a Laptop
The process of arranging multiple applications on a laptop is almost identical to using a desktop computer.
You can use the same Windows keyboard shortcuts and built-in Snap features.
Follow these instructions:
- Open the applications you want to use.
- Press Windows + Left Arrow.
- Open the second application.
- Press Windows + Right Arrow.
- Adjust the divider between the windows.
If you use a smaller laptop display, a two-window layout is generally more comfortable than displaying four applications simultaneously.
Not sure about your laptop’s hardware specifications? Follow our guide on how to find specs on PC.
How to Resize Split-Screen Windows
After arranging your applications, you may want to give one window more space than another.
Windows allows you to resize snapped applications using the divider between them.
Follow these steps:
- Move your mouse pointer over the divider between the applications.
- Wait for the resize cursor to appear.
- Click and hold the divider.
- Drag it left or right.
- Release the mouse when you reach your preferred size.
The adjacent window will automatically adjust to fit the available space.
This is particularly useful when one application contains more information than another.
Split Screen Not Working on PC? Try These Fixes
Sometimes Windows may not arrange applications correctly. If you are having trouble using split screen, try the following solutions.
1. Enable Snap Windows
Open Settings > System > Multitasking and make sure Snap windows is enabled.
2. Restart Windows Explorer
A temporary Windows Explorer issue can sometimes affect desktop window management.
- Press Ctrl + Shift + Esc.
- Find Windows Explorer under Processes.
- Right-click it.
- Select Restart.
Your taskbar and desktop may briefly refresh.
3. Update Windows
Outdated Windows components can sometimes cause unexpected problems.
Open Settings > Windows Update and check for available updates.
4. Check Your Display Resolution
Some Snap Layouts may not appear on smaller displays or when applications do not meet the required window dimensions.
Open Settings > System > Display and review your display configuration.
5. Restart Your Computer
Restarting your PC can resolve temporary system issues. After restarting, open two applications and test the keyboard shortcuts again.
If your computer is also running slowly, check our guide on how to speed up Windows 11.
Benefits of Using Split Screen on PC
Using multiple applications simultaneously can improve your daily workflow.
Here are some important benefits:
- Better multitasking: Work with multiple applications without constantly switching windows.
- Improved productivity: Complete tasks more efficiently.
- Easy comparison: Compare documents, spreadsheets, and websites side by side.
- Better research: Read information in one window while taking notes in another.
- Organized workspace: Keep important applications visible in a consistent arrangement.
You can also explore our guide to the Windows Experience Index in Windows 11 to learn more about evaluating Windows computer performance.
Frequently Asked Questions
1. How do I do split screen on PC?
Open an application and press Windows + Left Arrow or Windows + Right Arrow. Open another application and move it to the opposite side of your display.
2. What is the shortcut for split screen in Windows 11?
Press Windows + Left Arrow or Windows + Right Arrow to snap an application to one side. You can also press Windows + Z to open Snap Layouts.
3. Can I split my PC screen into four sections?
Yes. Windows 11 offers four-section Snap Layouts on supported displays. You can also drag applications into the four corners of your screen.
4. How do I split screen on Windows 10?
Open two applications and use Windows + Left Arrow and Windows + Right Arrow. Snap Assist can help you select the second application.
5. Can I split screen on a laptop?
Yes. Windows laptops support the same Snap features and keyboard shortcuts as desktop computers.
6. Why is split screen not working on my PC?
The Snap windows feature may be disabled. Open Settings > System > Multitasking and enable Snap windows. You can also restart Windows Explorer or your computer.
7. Can I use three applications at the same time?
Yes. Windows 11 offers three-column Snap Layouts on supported displays. Press Windows + Z and select an appropriate arrangement.
Final Thoughts
Learning how to do split screen on PC can make your computer experience more productive and organized. Windows 10 and Windows 11 provide built-in features that make it easy to arrange multiple applications without installing additional software.
For most users, Windows + Left Arrow and Windows + Right Arrow are the easiest shortcuts for arranging two applications. If you need more advanced arrangements, Windows 11 Snap Layouts provide additional flexibility.
Try these methods and choose the layout that works best for your daily tasks.
For more practical technology tutorials, visit TechCrown’s homepage and explore our other Windows guides, PC tips, and software tutorials.